A Github Pages blog in one hour
When I decided last summer I wanted a blog I went about it the usual way; DIY. I wanted the ultimate power of knowledge, I needed to learn how to create everything by hand, from scratch. I went about creating my own CMS in Node.js, Webpack for building, React.js for MV*, OAuth2 for authorization (admin login). Got it published on Linode with a full CI pipeline in Ansible.
My awesome project had turned into a never ending maintenance nightmare, more complex than the backends I maintain for my clients, just without the profit. I had to kill my darling, as one could put it.
New beginnings
Last week I got the urge to write some stuff down and I decided to get this blog up, ASAP. I got some simple requirements:
- No blogging platforms allowed, I’m in charge of the technology stack and the database
- React.js is a must
- Webpack is cool
- Local development and hot reloading is a must
- Static hosting only! Serverless hosting means zero maintenance and zero costs
- Publishing articles should require no more work than writing my thoughts down and running ~3 commands
Static websites “like it’s 1995” is the new thing. They require no hosting costs, no server maintenance and no nothing. Gatsby.js is an awesome blog “CMS” generating a static React.js website, with articles written in Markdown and Webpack module serving. Gatsby had me at hello (or readme) and the pretty template demos, awesome! I decided to go with Gatsby.js as my blog “CMS”.
Gatsby.js structure overview
Gatsby.js is simple, it’s essentially combining your article Markdown and your article .jsx templates and generates a static website from them.
Here’s how the “pages” directory looks in my project right now:
pages
├── 404.md
├── articles
│   └── 2017-04-09-1hr-diy-reactjs-blog
│       └── index.md
└── index.jsx
Yum, beautiful structure
The pages/articles directory acts like a database in Gatsby.js projects.
My React.js “components” directory looks like this:
components/
├── SiteFooter
│   ├── index.jsx
│   └── style.css
├── SiteHeader
│   ├── index.jsx
│   └── style.css
├── SitePage
│   ├── index.jsx
│   └── style.css
└── SitePost
    ├── index.jsx
    └── style.css
Removed some components
Just some normal React.js view implementations in the .jsx format, SitePost contains my article template and thus the template for this article your reading.
Creating a Gatsby.js blog in less than 60 minutes
With Gatsby.js you decide the time-to-launch, it all boils down to how much you want to modify the templates. If you want a blog like mine on Github Pages it’s pretty much clone-build-deploy. 10 minutes until it’s alive and kickin’.
The official startup guide is the place to start. Here’s my guide to get it up on Github Pages, requires a terminal, git and npm:
- In a terminal:
npm install -g gatsby gatsby new blog https://github.com/gatsbyjs/gatsby-starter-blogto get the standard bare bone blog templatecd bloggatsby developto start a local Node.js hot reloading server- Go to localhost:8000 in your browser, it works!
- Back to terminal and
ctrl+candgatsby build, your blog is built and found in thepublicfolder gatsby serve-buildand browse to localhost:8000 to test your build
Publish on Github Pages
- Go to pages.github.com and create your Github Pages repo as by the official guide
- Clone your Github Pages repo
- Copy the built blog from
publicto your cloned Github Pages root likecp -r public/* ../my-github-pages-clone.github.io - Push it up like
cd ../my-github-pages-clone.github.io; git add -A .; git commit -m "first"; git push - DONE!
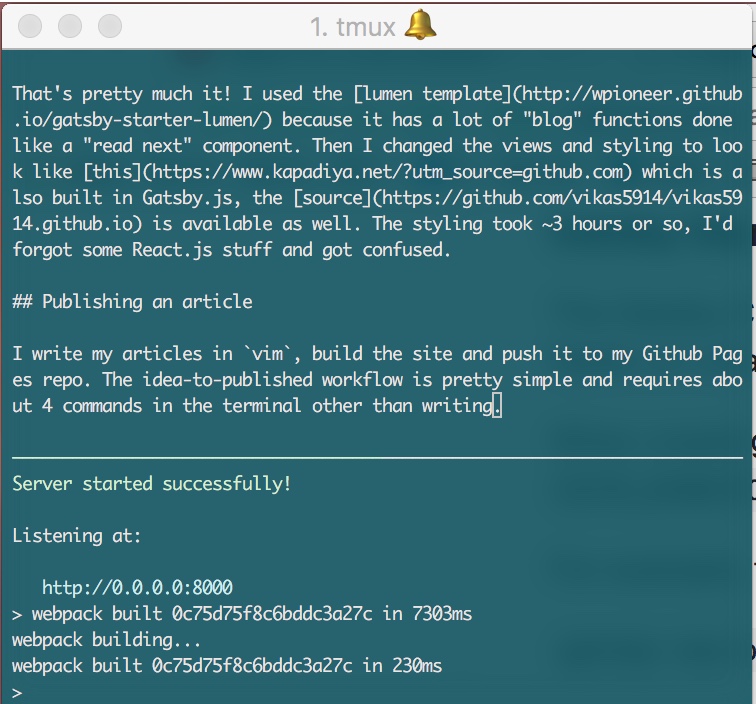
That’s pretty much it! I used the lumen template because it has a lot of “blog” functions done like a “read next” component. Then I changed the views and styling to look like this which is also built in Gatsby.js, the source is available as well. The styling took ~3 hours or so, I’d forgot some React.js stuff and got confused.
Idea-to-published time with Gatsby.js
I write my articles in vim, then I run gatsby build and push it to my Github Pages repo. The overhead when writing an article is about 3 minutes and requires about 4 commands in the terminal other than writing.
When I’m writing articles my workflow is pretty simple, I usually go about the following steps:
cd pages/articlescp -r 2017-04-09-some-article-dir 2017-04-10-my-new-articlegatsby developand open localhost:8000 (gatsby develop need to be started after creating the new article directory, it will not hot reload new directories)- In a new terminal:
vim 2017-04-10-my-new-article - Writey write
gatsby buildand push the build to my Github Pages repo
It’s quick and I can instantly see how my article looks when I save which is awesome!
Conclusion
My blog workflow is faster than what the large blogging platforms can ever provide. It also fullfills all my inner nerd cravings. On top of those perks the actual generated site is served faster than ANY blog platform is able to serve it. I can compose my articles offline and still see the final result which is nice when travelling.
Yet another pro is hosting it on *.github.io, I personally think it gives some “credibility” to a tech blog. Just the domain makes an awesome first impression :)
I also heard 10/10 Gatsby.js users would recommend, legit.